Painting Brass: TCT likes to use Floquil and Scale Coat 1 paint on brass models.
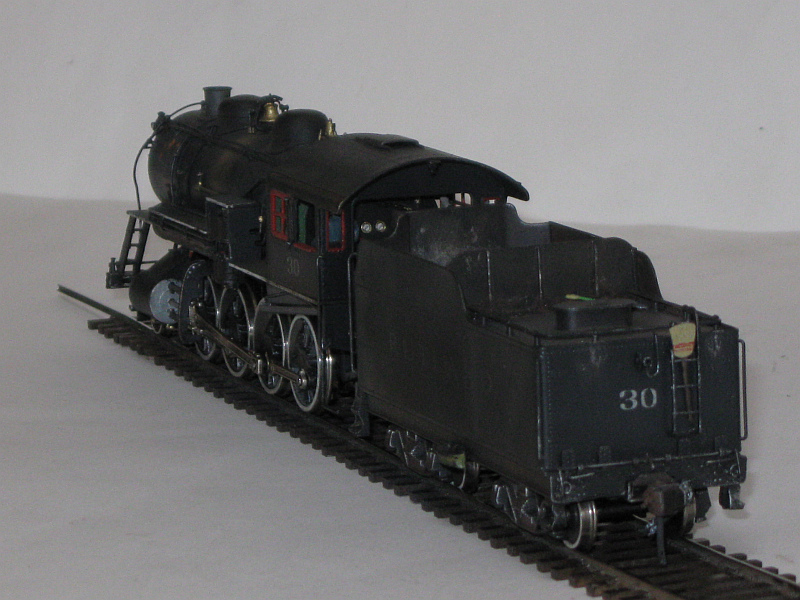
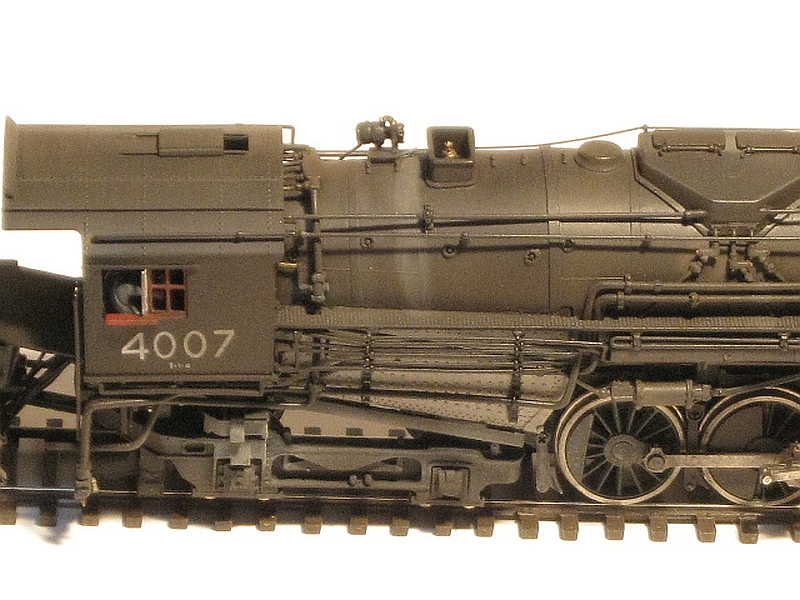
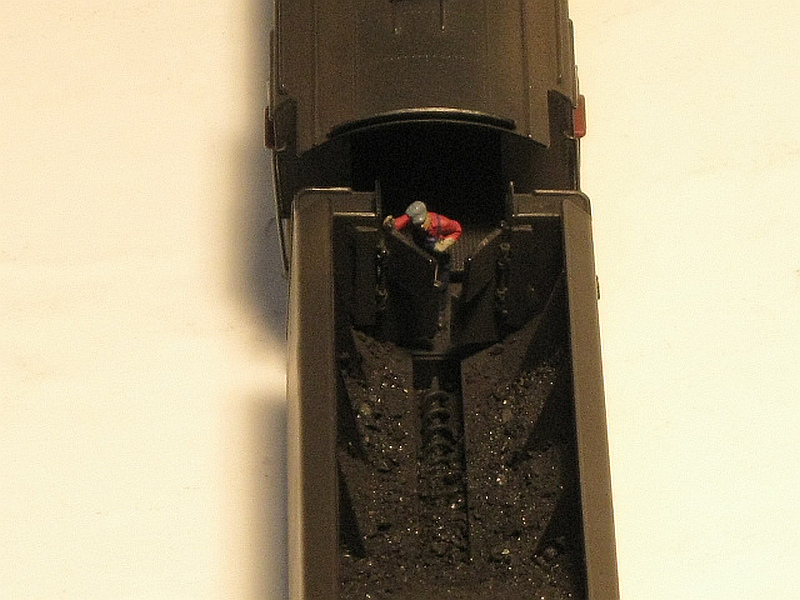
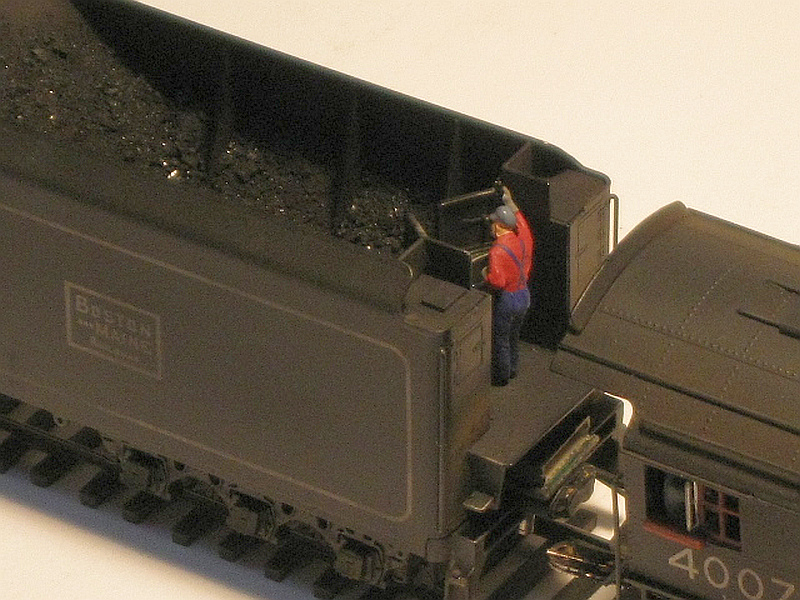
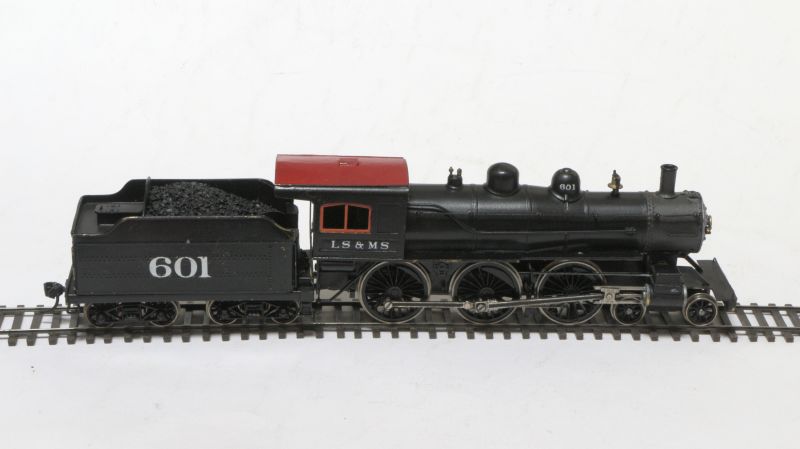
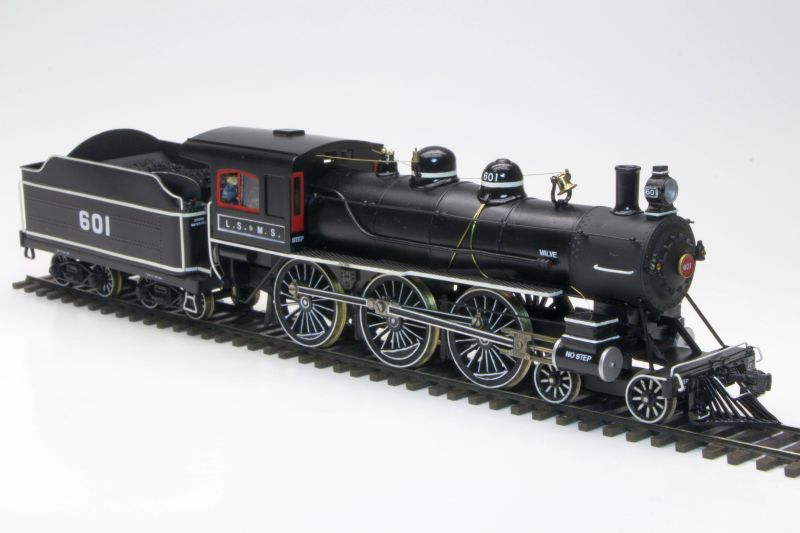
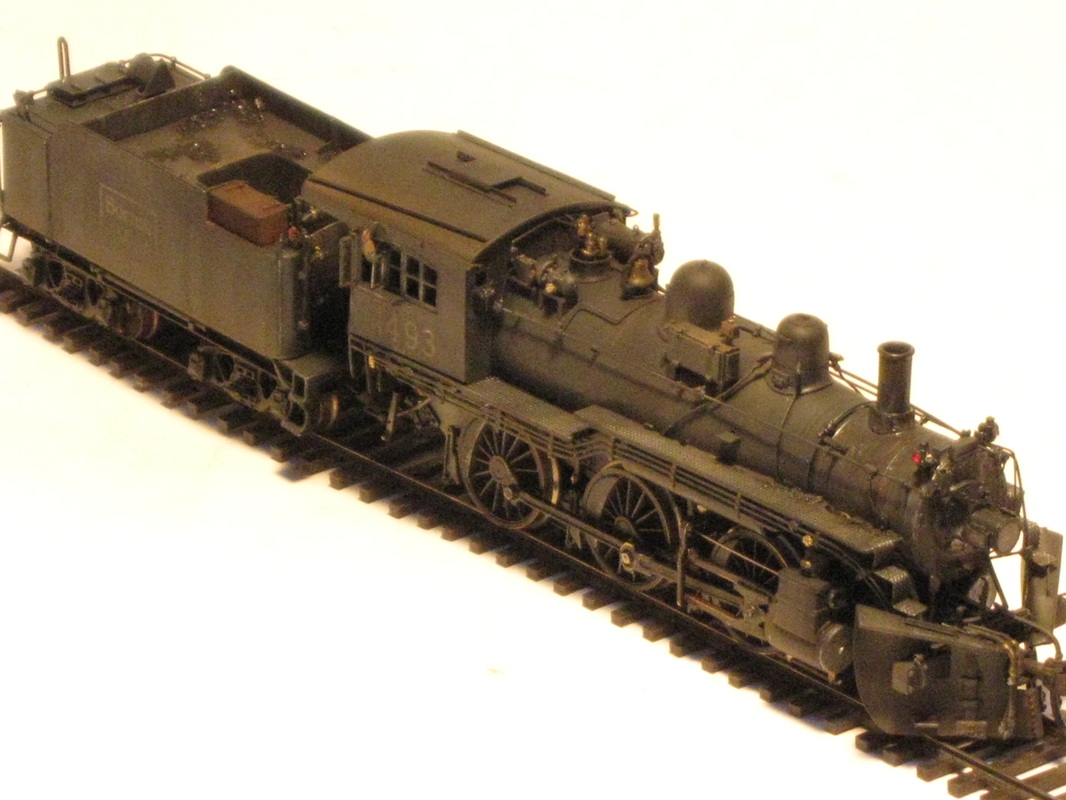
I’ m one of the few modelers who believes all brass models should always be painted & out of the box & run on the layout. I also believe that weathering improves the realism in a model and reveals details that otherwise get overlooked. OMI b-15b B&M 2-6-0 w/plow out of the box
Before During |
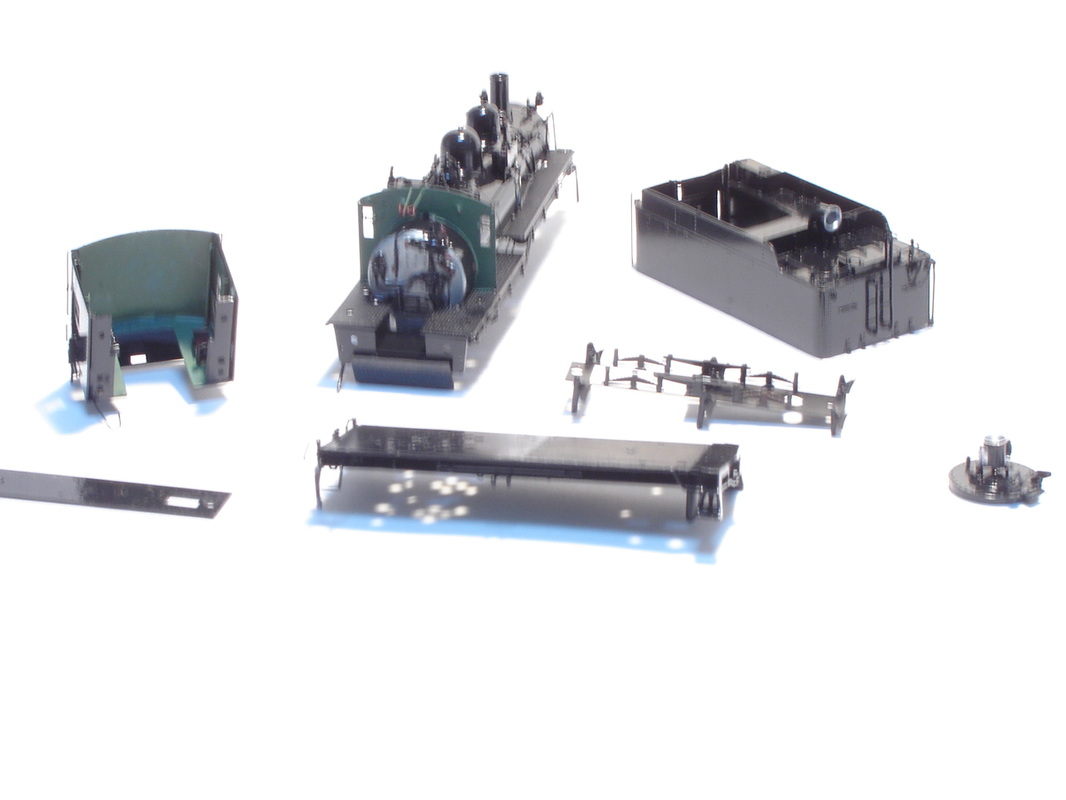
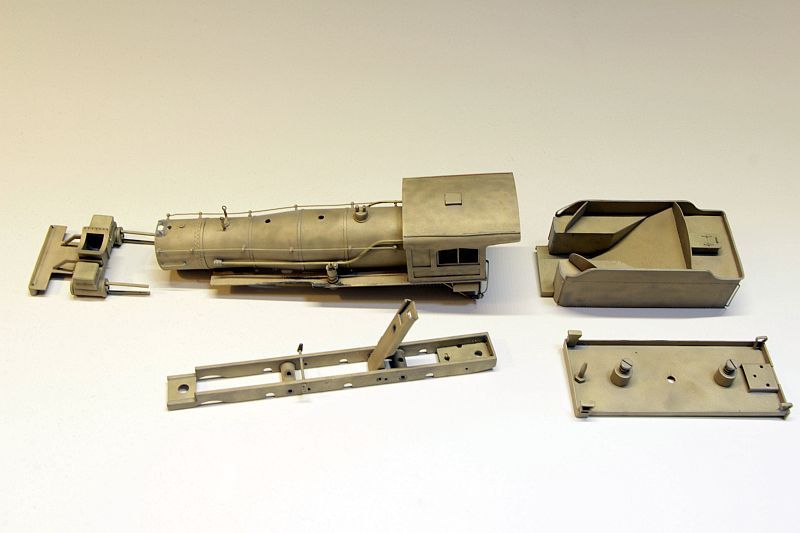
Brass models require more attention in preparation before painting. The preparation of the model is the most important & usually the most time consuming part of the project.
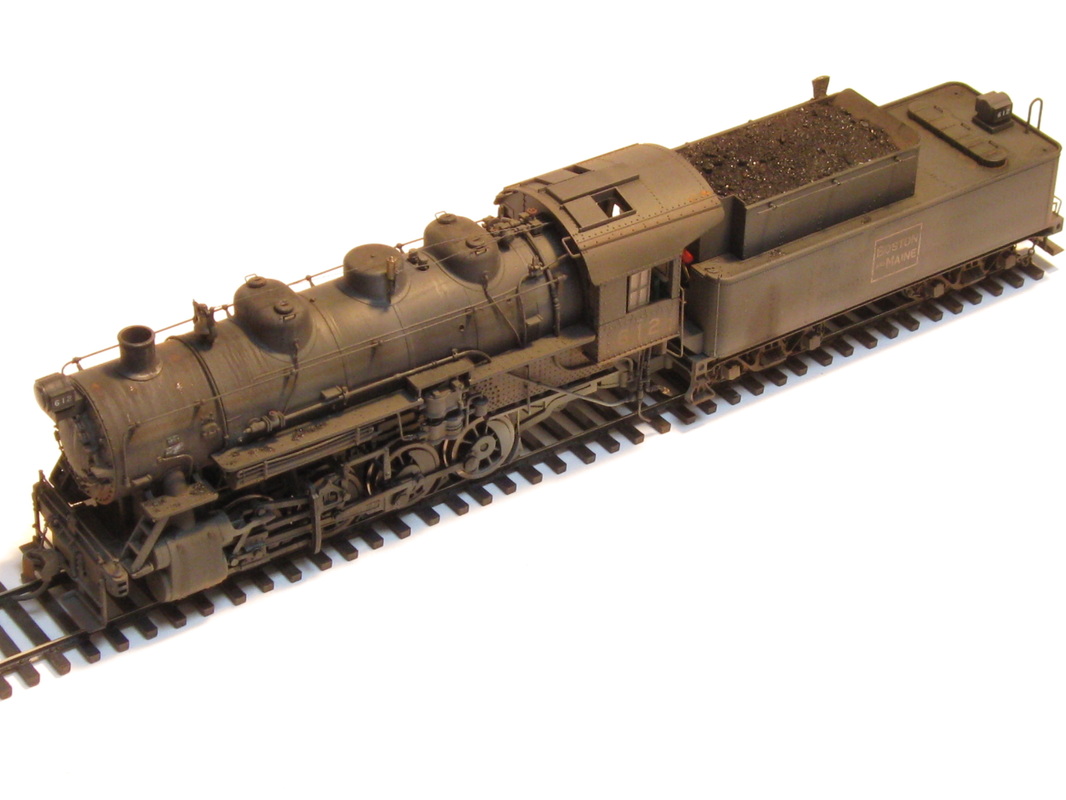
    After - with maiden test run video.
|
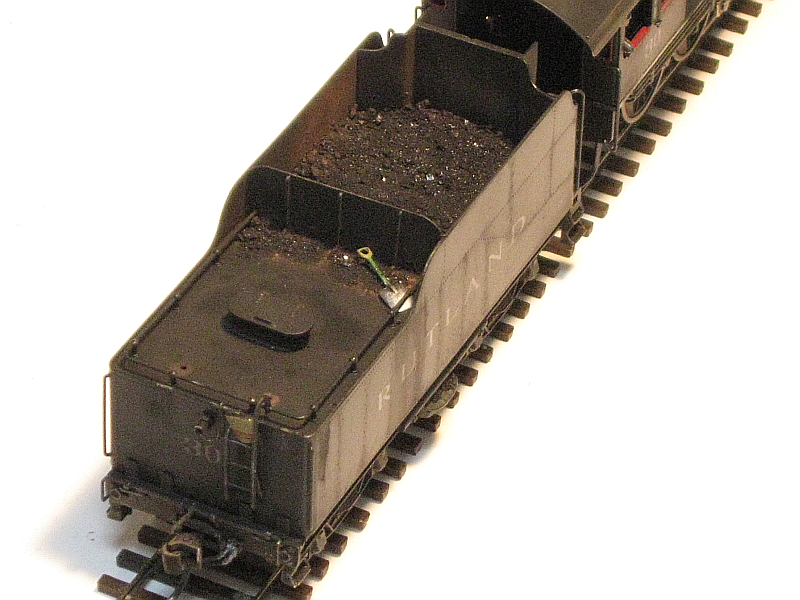
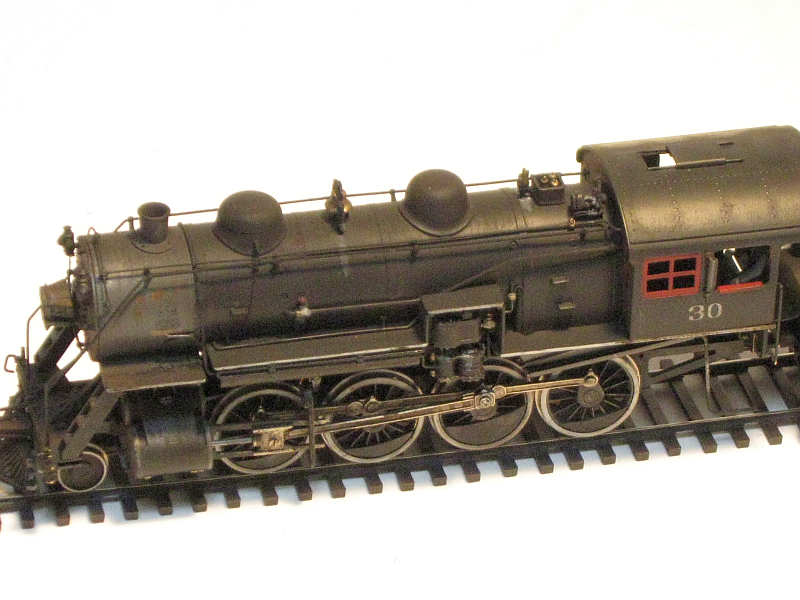
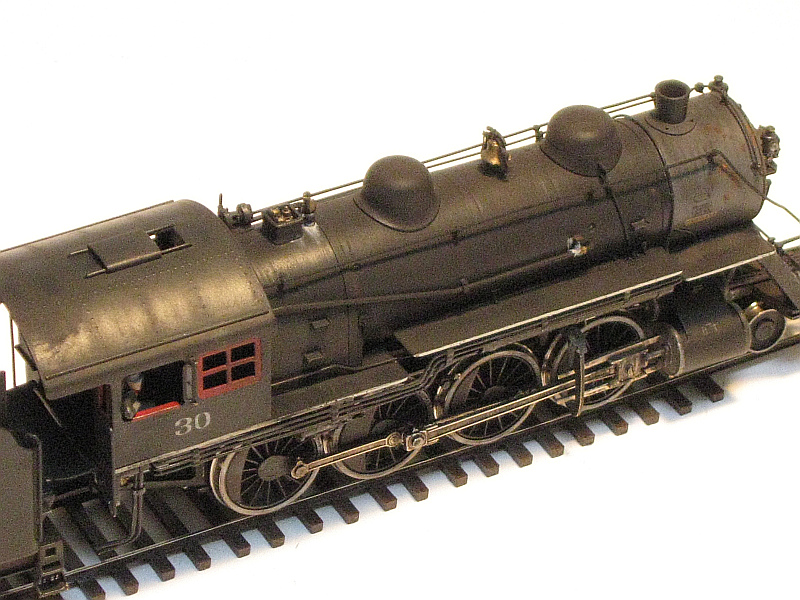
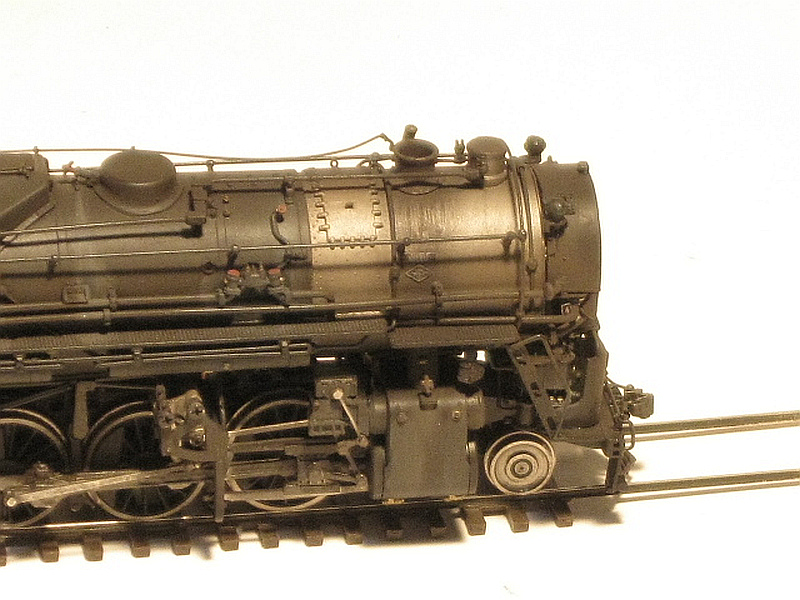
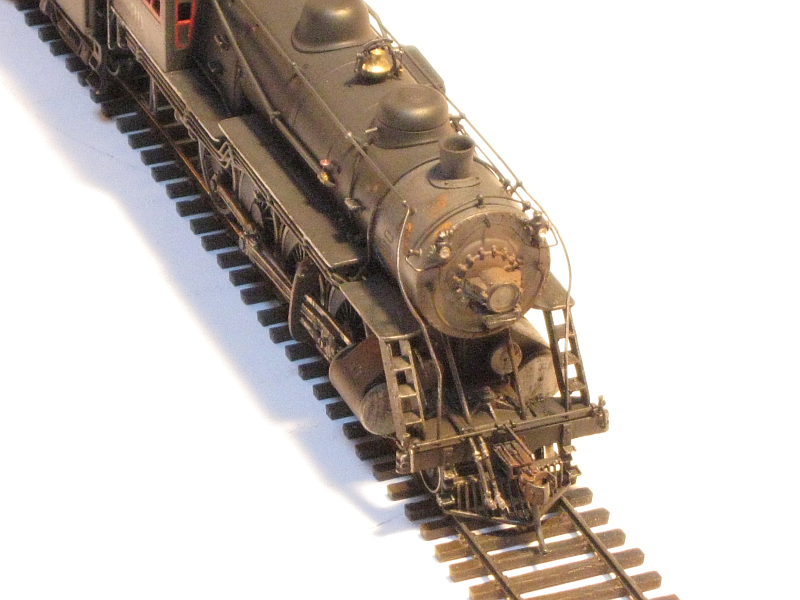
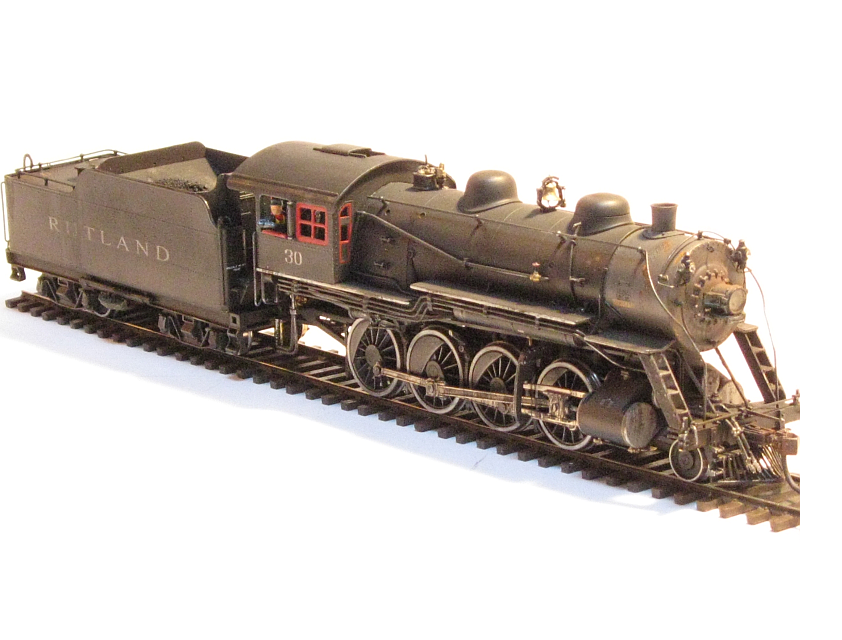
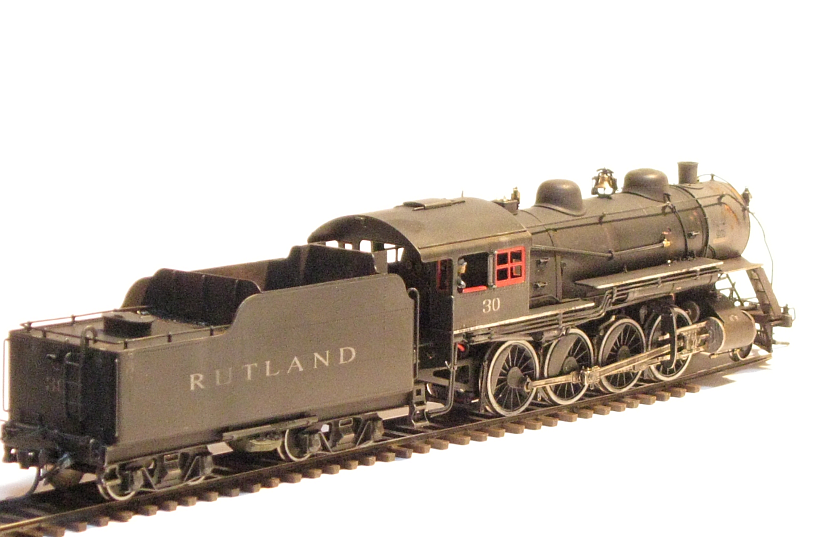
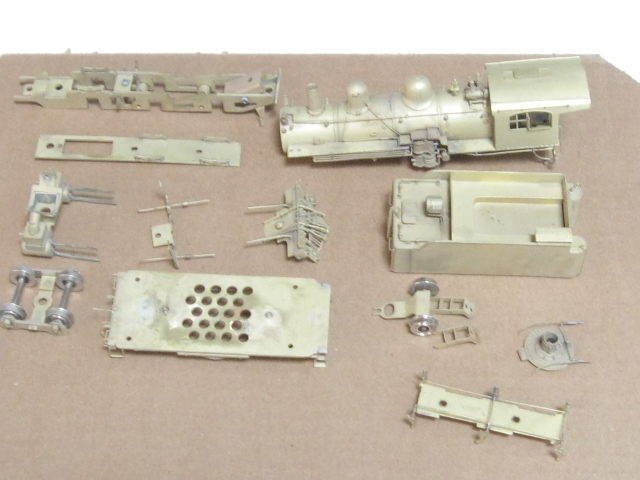
HO scale 4-6-0 Brass:
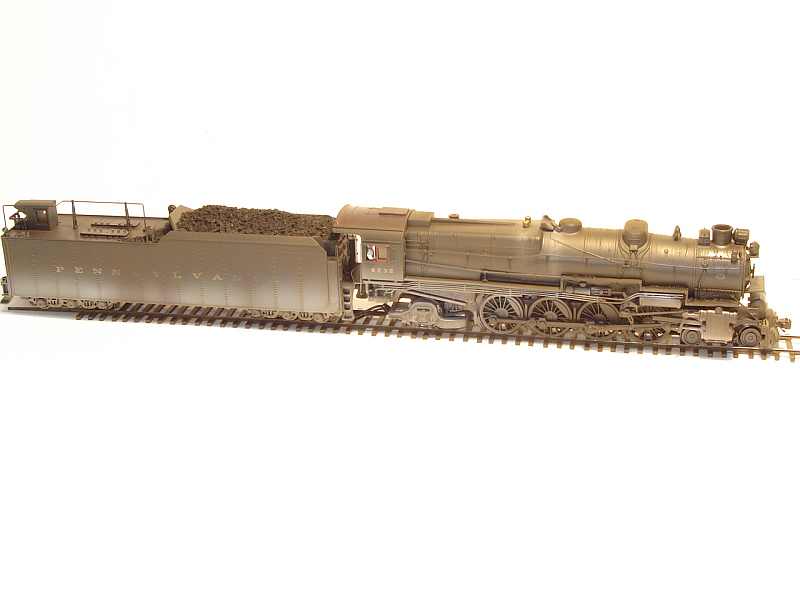
O-scale 2-8-0 Brass:


Painting & Weathering Plastic:
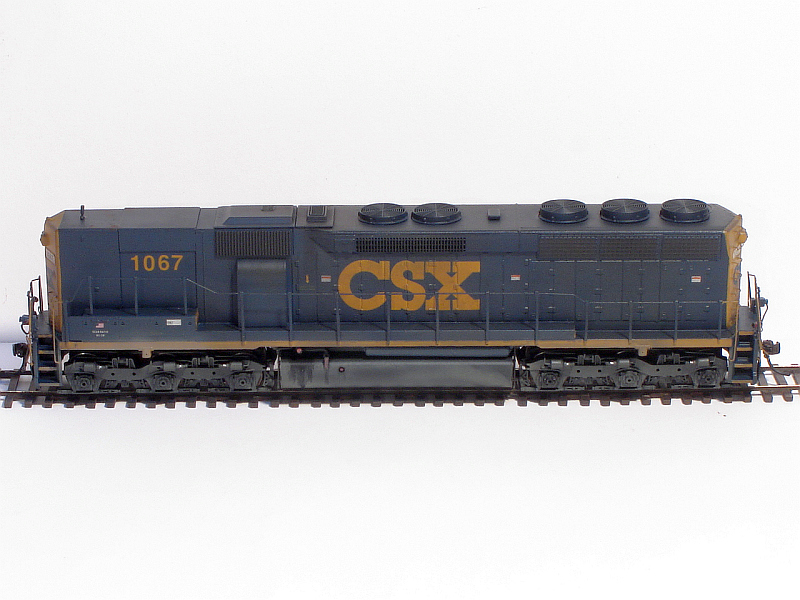
One aspect of the hobby is Freelance modeling. Sometimes a favorite railroad & a favorite engine don't exist together so artistic modeling is required to achieve the end result. Since I no longer waste my time counting rivets, fun projects like this sd-45b are born!
  Painting Plastic: Athearn sd-45b model after primed.
Start with a good washing of the model with soap & warm water. Air dry then prime model with 2 thin coats of floquil primer & inspected for any flaws in detail & correct. Prime again as necessary.
|
Kitbashing to get what you want: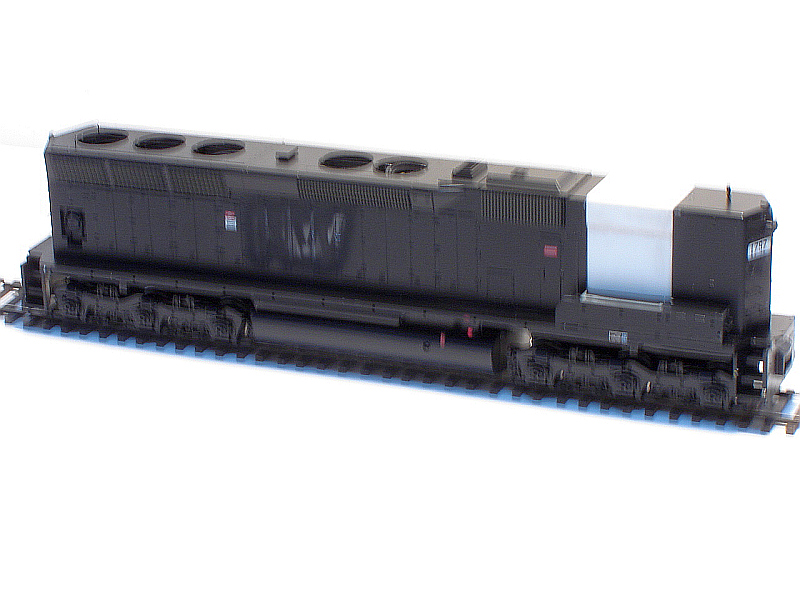 Athearn sd-45b all parts removed & scratch built cabless panel applied & test fit on frame. Also N&W logo removed so as not to show up under new paint. Sorry for the blurry pic.
I started with the new Athearn NW sd-45 dc model. Removed all attached details & scratch built a cabless section. Removed the N&W logo then taped of all safety labels & primed model.
Prime model first:
Once model is primed & any flaws are corrected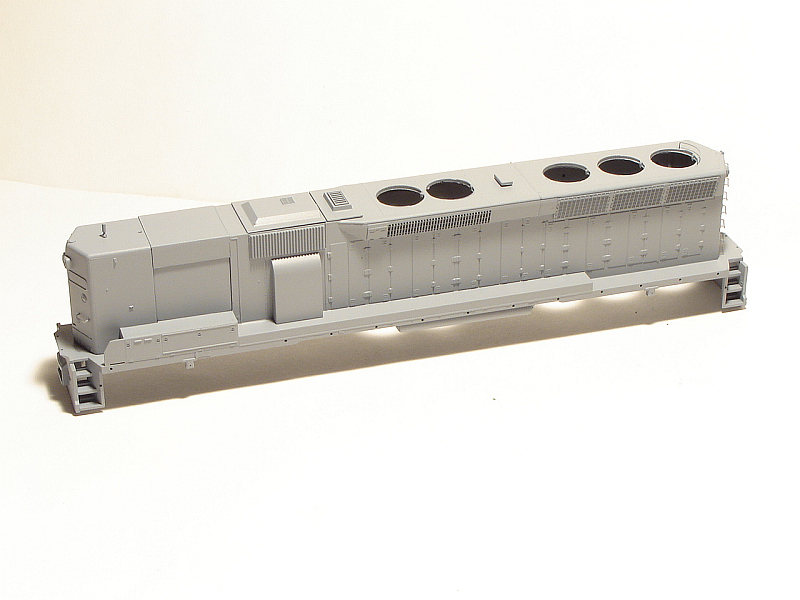 Athearn sd-45b model after primed.
it's a good idea to really inspect the details of the model carefully for any inperfections in the modeling, glue or any thick coats of primer. Now's the time to correct any problems.
|
|
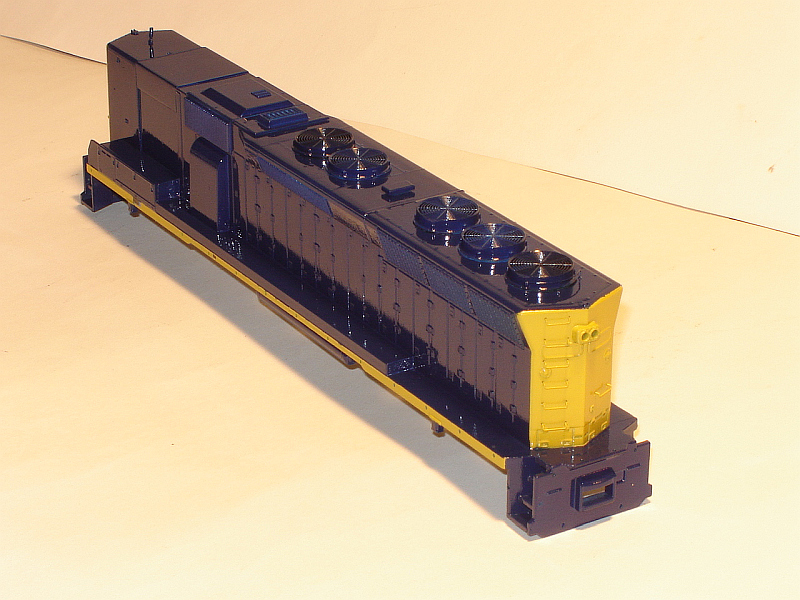
Painting multiple colors: Now the 1st thin coat of paint can be applied. Start with the lightest colors first when using light color primer. In this case CSX new future gold will be used on the ends & side of walkway. Tip: If I know the weathering is going to be worn off to show what's under then I will paint the whole model the same lighter color. If I know the weathering is not heavy then I'll carefully tape off the ends and paint only the ends. This is so the next color is the same thickness. Don't forget to remove the tape over the labels.
|
  |
Decaling the model: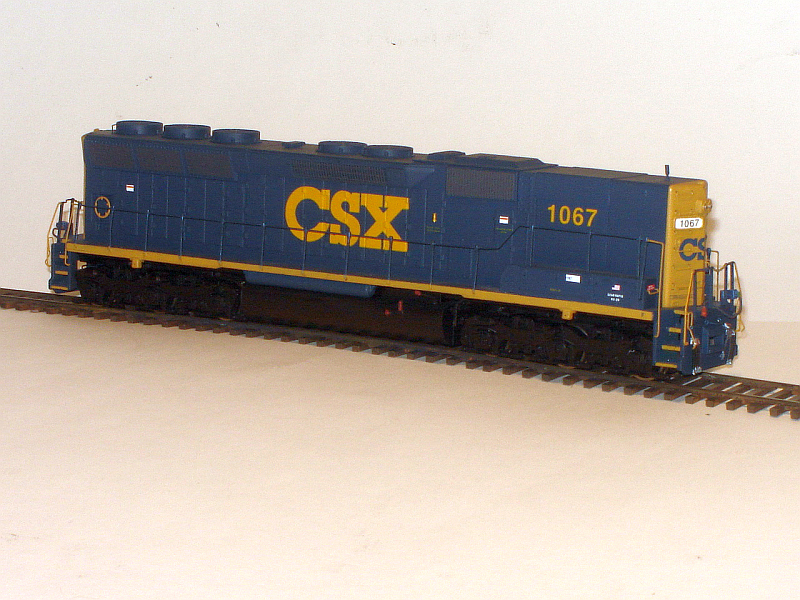 Athearn sd-45b fresh out of the paint & lettering shop. notice all the safety labels & added details. I should add sound here! Lol.
Once the gloss coat is completely dry. I apply the decals & any additional safety labels that the original model didn't have where needed. These details really pay off in the long run.
|
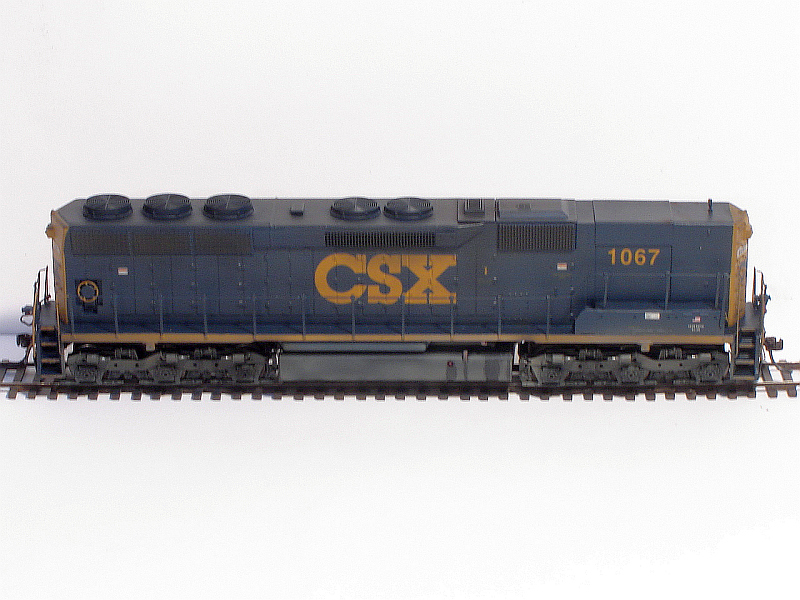
Clear gloss coating the model again: Athearn sd-45b fresh out of the paint & lettering shop. notice don't forget to paint the grills for a better looking model. Even if your not going to weather any further.
After the decals have been applied & dryed over night. Tip: I give the whole model a good gloss coat again. This locks the decals in place & helps hide the film. Once your finished you can seal everything with a coat of dull clear to knock down the shine...
|
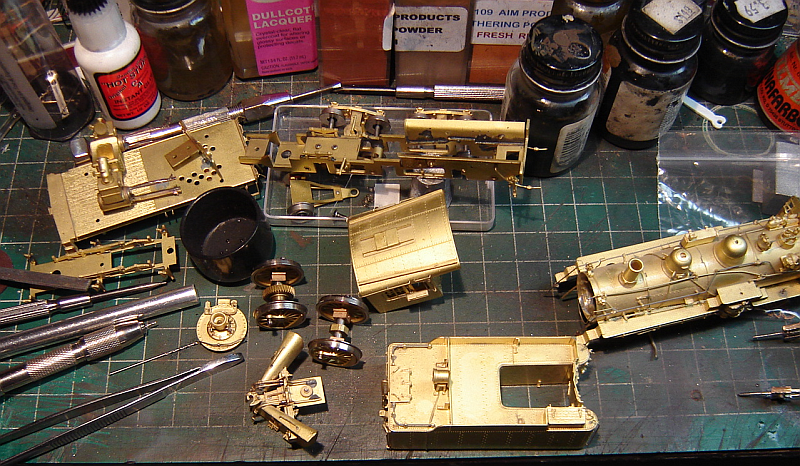
Necessary work performed to get what you paid for:
Complete all mechanical work if needed & test run--Disassemble the whole model--grit blast to remove old paint or clear finish and to rough up surface--Clean with toothbrush using soap and water—Re-solder any poor joints--Reassemble sub assemblies--Prime model if needed (most do)--Bake dry--Paint and bake dry–Mask and repeat for second color etc.–Clear finish--Decal model--Clear finish again air dry–flat finish air dry--Re-assemble model--Install decoder, lights, details, figures etc--Test run–Weather to desired level--custom program each model--final test run on a layout--pack/ship. Enjoy!
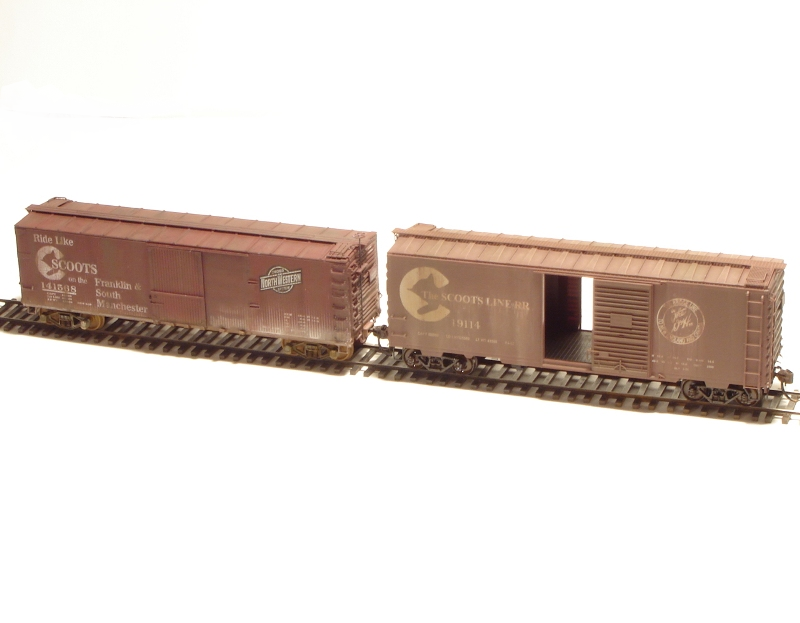
Weathering a factory painted model: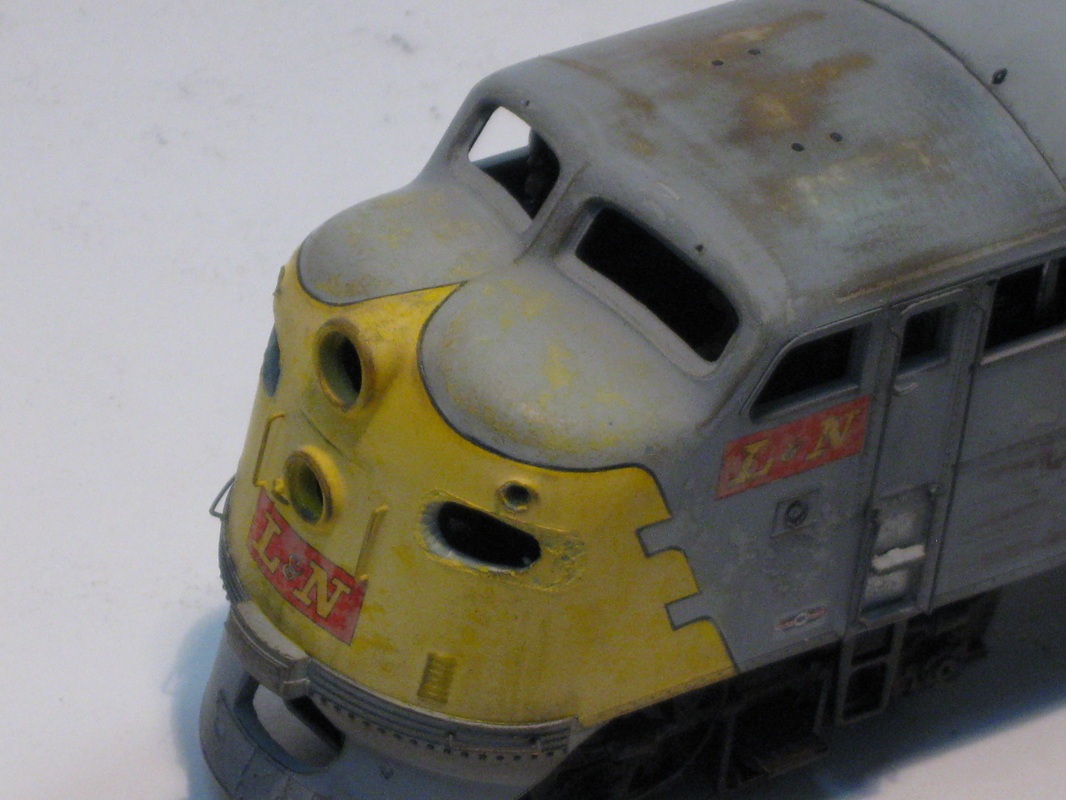
Plastic models: require less paint preparation than brass but, still need the same attention to details. I don't bake dry the newer plastics, I air dry the plastics. This can take up to 2 weeks for the solvents to cure out. With today’s models, there can be a lot of details that need to be removed before painting, decaling & weathering depending on the paint & weather scheme in some cases.
|
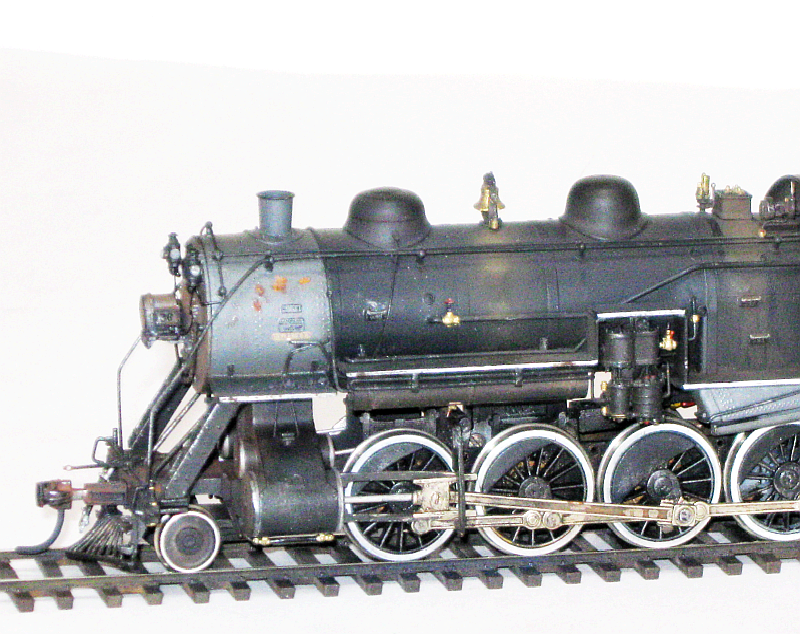
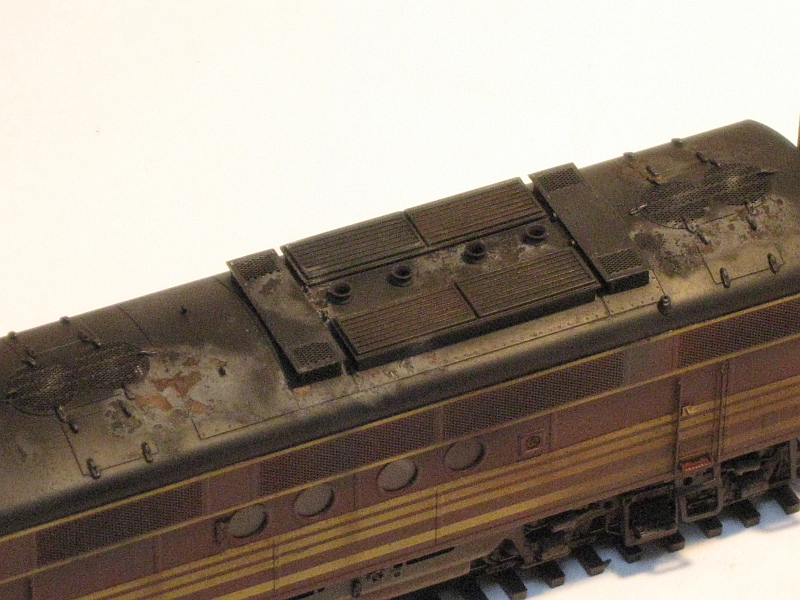
Weathering final:
Weathering: I think weathering should play an overall point in modeling. Light or heavy
I believe realism or "believability" should be the ultimate goal in modeling. Otherwise something wonderful is lost. I appreciate seeing the absolutely awesome weathering being done in today's models "in every scale" & Strive to continually improve my skills as a modeler. |
Weathering & different lighting: